Product Page
The bulk of the product page for Malouf home is auto-generated based on our theme but you can control some of the content through the use of widges and components. This page will be a guide for some of the processes that aren’t as straight forward. If you are still finding it dificult, please submit a ticket or reach out to the web department for help.
Widgets
Since the Product pages are auto-generated, you can’t directly manipulate product pages in the page builder. To get around this, we use widgets on the widget page set in global regions to change them everywhere on the site. The widgets are divided up into sections of where they belong on the site for ease of use. Please Do not drag widgets out of their defined regions on this page. To access them:
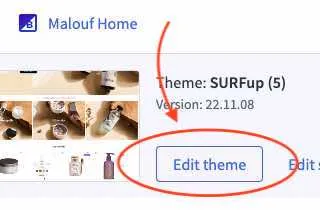
- Go to the Page builder (Channel Manager → Storefronts section →
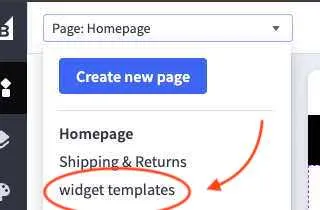
Edit theme). - In the
Page selector(top left corner), selectwidget templates. - In the Page editor window, select the widget you need to edit.
Category Warranty Icons
These icons are controlled by the category/subcategory the product belongs to. Changing the widget for a category/subcategory will change it for all of the products that belong to that category/subcategory.
How to access the widget
Since this widget is hidden by default on all pages, it is unable to be clicked on in the Page Builder window. To access it:
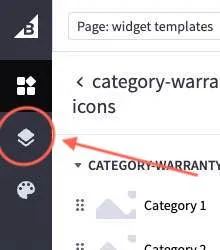
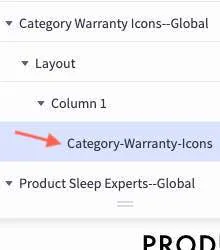

- On the far left side of the page you will see four Icons. Select the third icon from the top, which is the layers icon (it will look like two slices of cheese stacked on top of each other).
- In the Layers Menu that just popped up, navigate to
▼ Category Warranty Icons→▼ Layout→▼ Column 1* → and selectCategory-Warranty-Icons. - The Page editor tab will now populate with the category-warranty-icons widget editor.
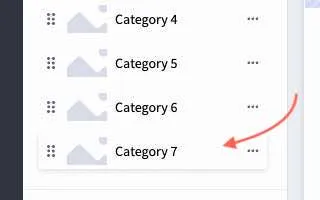
- The first section will be the list of all the categories/subcategories that have been created for this widget.
- The second section will be the current selected category/subcategory.
- You may go back to the global page editor at any point using the
< category-warranty-iconsat the top of the tab.
** click on the ▶ to expand the dropdown*
Add a new category/subcategory
If you have a new category or want to change the widget more specifically for a subcategory*, you will need to add a new category to the list.
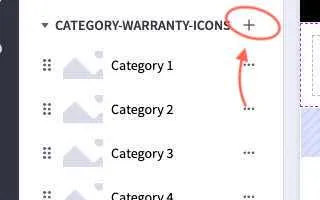
- In the first section of the widget editor, select the
+to add a new category/subcategory to the list. - The second section will now jump to the newly created category/subcategory.
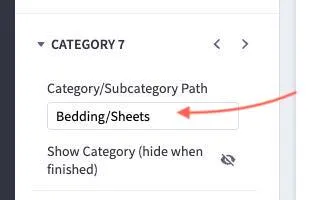
- Name the Category/Subcategory Path to the name of the desired category/subcategory.
- The category path needs to be lower case, spelt exactly the same as it is in BigCommerce.
- Use ”/” with no spaces to denote subcategory.
- Ex: Bedding/Sheets would be for the subcategory of sheets.
- Make sure that when you are done, you hide the category by selecting the “Show Category”
◎button below the path name.
** If a product belongs to a subcategory but the subcategory group has not been defined, the parent of that category will be used. repeated until a category defined in the list is found*
Edit the Widget
You may need to edit which Icons are being shown or the text below the icons for the categories in the list. To do so:
![]()
- Select the Category from the list in section 1 with the desired path name.
- To see the widget in the page builder window, select the “Show Category”
◎button below the path name. - In the second section, select the
▶ ICONSdropdown. Here you will see a list of the 4 available icons - You can toggle them on/off with the
☑checkbox next to the icon name. - You can change the text below the icon using the textbox below the Icon name.
- Make sure that when you are done, you hide the category by selecting the “Show Category”
◎button below the path name.
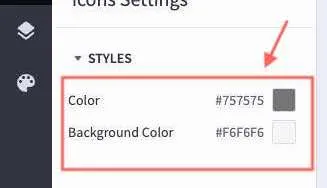
Edit the styles
If there is a major shift in design or this widget is being used elsewhere on the site, there is a way to change to icon/text and background color.
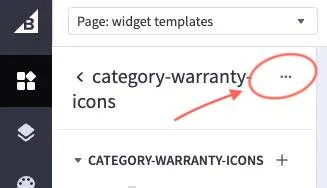
- Next to the
< category-warranty-iconsat the top of the widget editor tab, select the...button and navigate to →⚙ settings - Under the
▼ Stylesmenu, You can change the Color and the Background Color.- The Color option changes the color for the Text and the Icons
- The Background Color option changes the background color (and the inside of the icons)
Sleep Experts
This widget controls the sleep experts widget used across all of Malouf home. Updating one will update them all. In this widgets settings, you have access a few different sections:
- Contact Box
- This is where you have access to styling options like color, text alignment, and margin.
- note: right and left margin need to be left blank to center.
- Header
- This is where you’ll change the Header Text and it’s font size (default 20px).
- Body Text
- Likewise, this is where you’ll change the Body Text and it’s font size (default 16px).
- Contact Info
- In this section, You can change each contact choice’s text and value
Mattress Material section
To enable this section on a prouct, first you will need to add a custom field to it. Set the name: material and the value: product name + material name with underscores for spaces (ex: ascend_aeroflex). If a new material is added to our catalog and we no not have a matching section, the Dev’s will need to add a corresponding global region to the widget templates page.
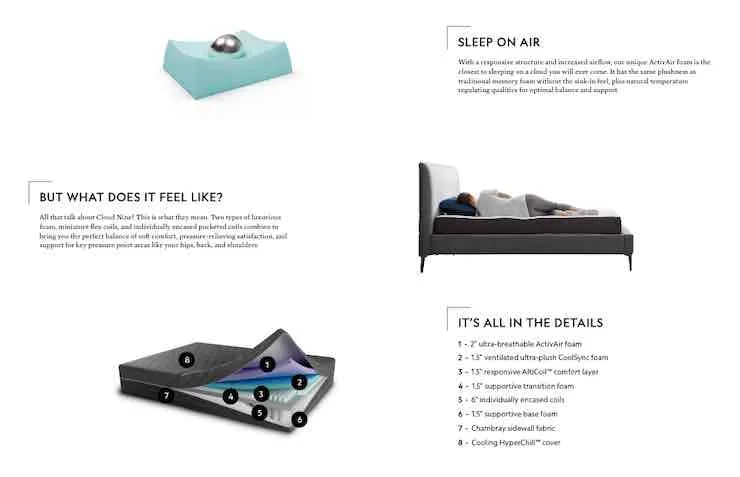 The widget that will be use for this section is labeled “product-page-backandforth” and was made to fit multiple sections of the design. Once the widget is added to a section in PageBuilder, you can add or subract sections from it using the
 + button next to the “▼PRODUCT-PAGE-BACKANDFORTH” dropdown and remove it by clicking on the three dots (…) next to a sections name. Click on a section to select it and once selected, you will be able to update its content and design.
First is a checkbox ☐ labeled “Reverse Row”, which will flip the text and the Image location. Under the Image tab, you can use the inputs to swap the image out, change the alt text* (please update if changing images), and set the Image padding. Under the Text tab, you can change the Header and the content text. There is also a checkbox ☐ for an ordered list. If checked, any content in the textbox seperated with a comma (”,”) will be added as a new numbered bullet point to the list.
If you need to change the background color, font size, or any other design aspects, you can find those settings in the settings tab by clicking on the three dots (…) next to < prodcut-page-backandforth and choosing settings from the dropdown. Make sure to check the ☐ Background Color Visible option if you want the background color to show and leave it unchecked if you want it transparent.
To edit this widget in PageBuilder, go to: Channel Manager tab → Edit theme → In the Page selecter dropdown, select widget templates → scroll down to Mattress Widgets under the Product Widgets section and select which one you would like to edit from the window.
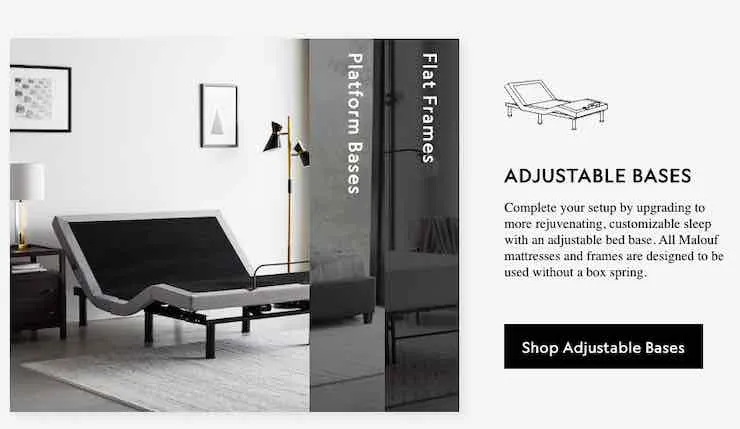
One Base, Three Ways
This widget uses the Base-Ways widget in PageBuilder and is a universal widget. To enable it, use the custom field base-ways. The PageBuilder widget settings will allow you to swap out the indivdual images and text. You can also add more items to the array (ex: 4 sections). To change the section header and other style settings, click on the three dots (…) next to “base-ways” and select settings from the menu.
Adjustable Base Compatible
This region uses the adjustable-compatible widget. Enable this widget on a product page using the adjustable-compatible custom field. In the widget editor in PageBuilder, like most widgets, you can change the text, images, and some basic styling. One thing to note, Image 1’s position is based off of the bottom and left inputs only and Image2’s is the bottom and right only. All of these positions are percentages based of the colored block (except the small position bottom which is based off the vieport width). They also derive their width from the colored block as well. The Images have an aspect ratio of 1 (a square). If the images are swapped, they will need to be repositioned and tested at varying screen sizes to make sure that the new images do not block the text.
If the background color needs to be changed, go to the layers tab → Find the region the widget resides in (most likely ”Adjustable Compatible—Global”) → select ▼ Column 1 → Then in the column settings, select ▶ COLUMN BACKGROUND. Set the background to Color and set the background color*.
*Note: Even if the background color’s default is white (#ffffff), you still need to set it otherwise it will not show.
Shop with Confidence
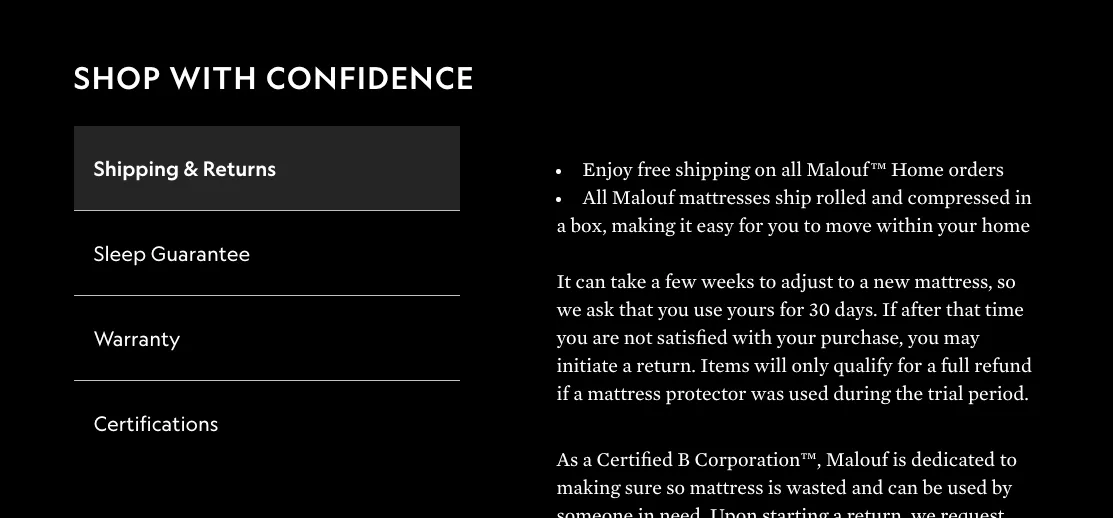
These are global for each category. To edit them, go to the ‘widget templates’ page and find the Shop with Confidence Widgets section and the corresponding category.
All tabs can be updated in the page builder except for the Warranty tab; that info is pulled in from each specific product and is edited on the Product Information page in the admin.
HTML tags you can use
Paragraphs:
<p> Wrap each paragraph in ‘p’ tags like this. </p>
Lists:
<ul>
<li> Put each list item inside ‘li’ tags.</li>
<li> Then wrap all the ‘li’ tags in a ‘ul’ tag for a bulleted list. </li>
<li> Or use ‘ol’ instead of ‘ul’ for a numbered list </li>
</ul>
Links:
You can turn text into a link by wrapping it in tags like <a href="https://www.website.com">this.</a>
Sleep Smarter

This is a global widget, so if it is changed those same changes will be reflected across every Sleep Smarter widget on other pages as well.
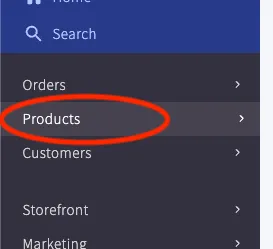
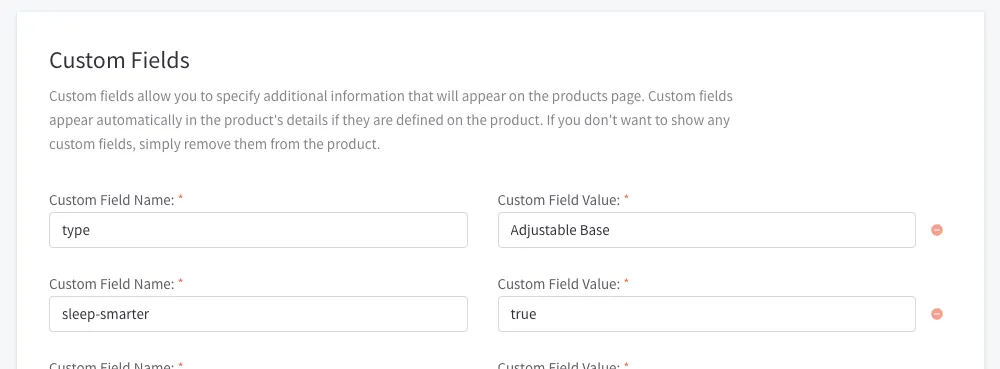
This widget is only displayed on the product page adjustable bases that are compatible with the Malouf Base app. The products this widget is displayed on is set in the custom fields on a per-product basis. To find the custom fields, go to the Products page in the BigCommerce admin. Then find the product you want to add this widget to, and scroll down until you see a Custom Fields section. The custom field name for this widget is “sleep-smarter”.
To add: Click ”+ Add Custom Fields” at the bottom, set the field name as “sleep-smarter”, and the value to “true”.
To remove: Either set the field value to “false” or click the red minus button to remove the field altogether.
To edit the text and image, go to the ‘widget templates’ page in the Page dropdown in the top-left corner of the page builder screen. Scroll until you find the widget for Sleep Smarter. Click and edit in the left panel.
Better Together
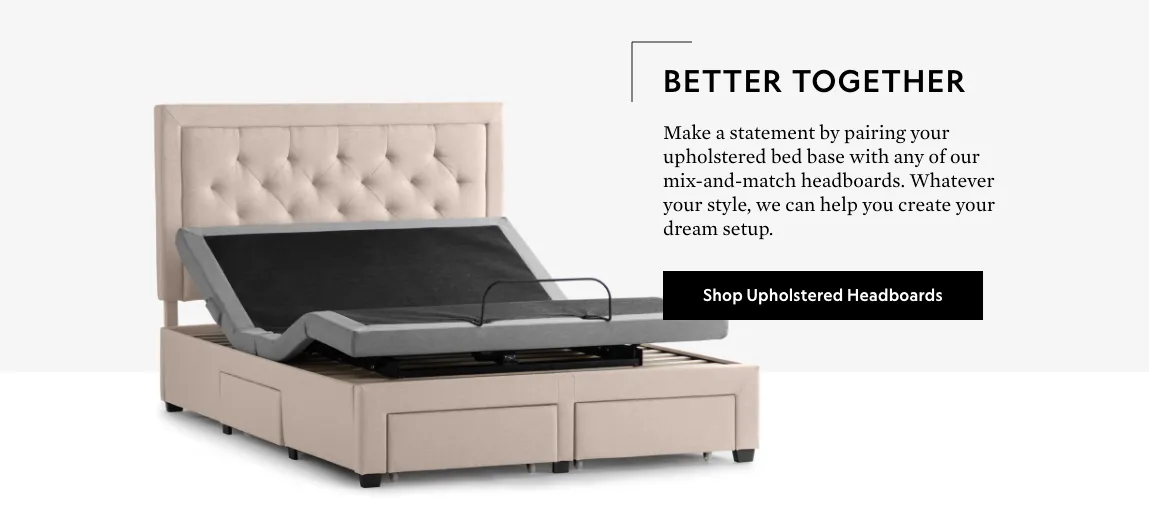
This is a global widget that displays on all product pages in the Furniture category. To edit, go to ‘Preview’ mode in the page builder and navigate to the page of any product under the Furniture category. Then go back to ‘Design’ mode and click on the widget and edit it in the left side panel. Make sure to hit ‘Save’ and ‘Publish’ when you finish editing widgets.
Sleep Styles
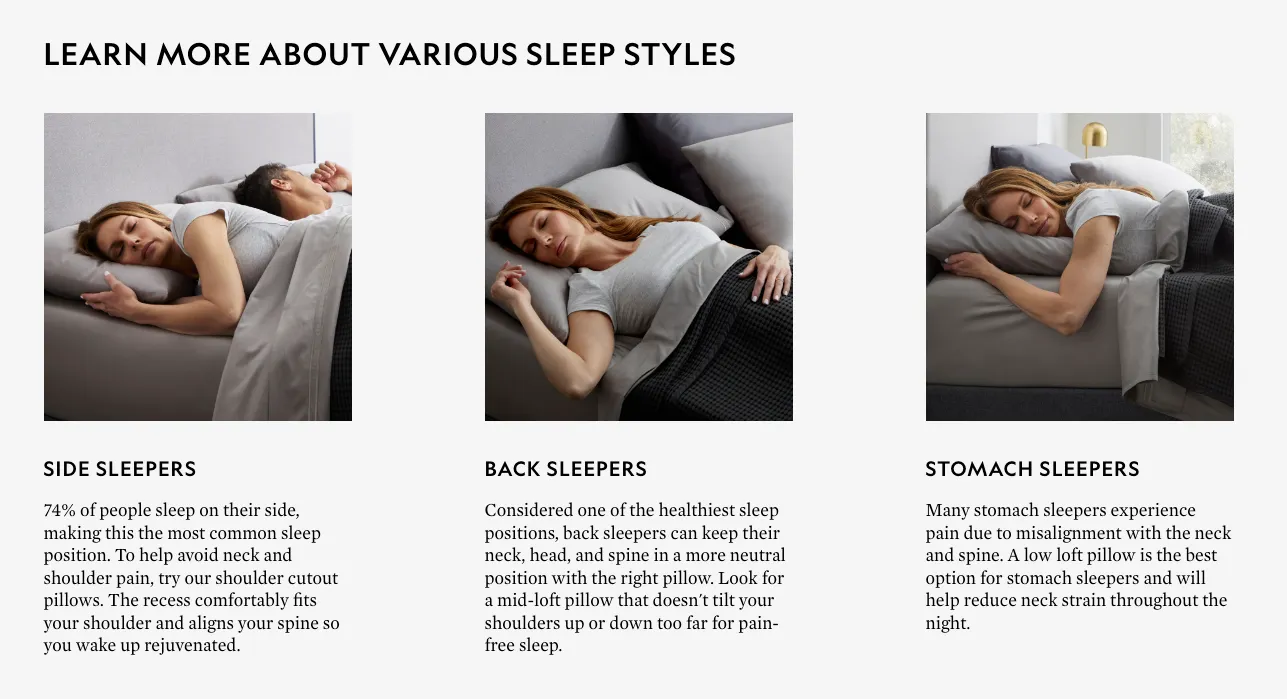
This is a global widget that displays on all product pages in the Pillows category. To edit, go to ‘Preview’ mode in the page builder and navigate to the page of any product under the Pillows category. Then go back to ‘Design’ mode and click on the widget and edit it in the left side panel. Make sure to hit ‘Save’ and ‘Publish’ when finished.
Daily Steal
daily-steal
Displays a sale promotion banner on specific product pages. This widget is meant for the region below the product tag and before the product description. You can change the title (always displayed uppercase), title color, offer text, offer text color, background color, optional background image, size (ex: cover), and position (ex: center 30% will position the image horizontally centered and vertically 30% from the top). You can also add an optional scrim (color, opacity) over the image.
Strapi Content
For more dynamic content per product, we have created Strapi collections in a separate CMS. If you need a login, please contact the Web department.
Locate Strapi Collection
To add the text and images, the product content can be found in Content Manager > Collection Types of an external CMS. For the product pages, you will be using mainly “Product Espot”. When additional fields are required, “Espot Detail” will also be used.
Create New Espot
To create a new espot, select “Create new entry” in the top right corner of the screen. Any existing content can also be edited or deleted by clicking on the pen or trash icons.

On the “Create an entry” page you will have several fields for content.
Here is a complete list of input fields, expected values, and a brief description for each. You can learn more by reading below or by following the link in the table.
| Field Name | Expected Value | Description |
|---|---|---|
bc_id* | Category or Product ID | Displays content on the correct product or category page, ids must match |
espot_name* | Name | Espot name for styling purposes |
display_order* | Positive number | Determines order of Strapi sections on the page |
text_alignment | Center/Left/Right | Sets text alignment |
heading | Text | Top level heading for the section |
description | Text description | Paragraph, list, or other HTML |
subheading | Text | Additional heading if heading |
extended_description | Text | Additional Paragraph, list, or other HTML if needed |
button_link | URL | Link for button |
button_text | Text | Button CTA |
visible* | True | Hide/shows content on the page |
media | Image or video | Media upload |
video_autoplay | True | Autoplays video if value is true |
youtube_embed | Youtube video url | Plays youtube video in modal, uses media for default image |
custom_video | Video url | Plays mp4 video in modal custom modal |
relation | Select box | Attach related content entries |
background_color | True | Sets background color to gray if true |
Select Espot Name | Master List
In order to style each collection accordingly, we have created indivdual espot names. For available product espot designs you will find the names, descriptions, and visual examples below.
| Espot Name | Fields Used* | Example | Relations and Other Fields Used |
|---|---|---|---|
Product Video Detail | text_alignmentdescriptionmediayoutube_embedcustom_video | 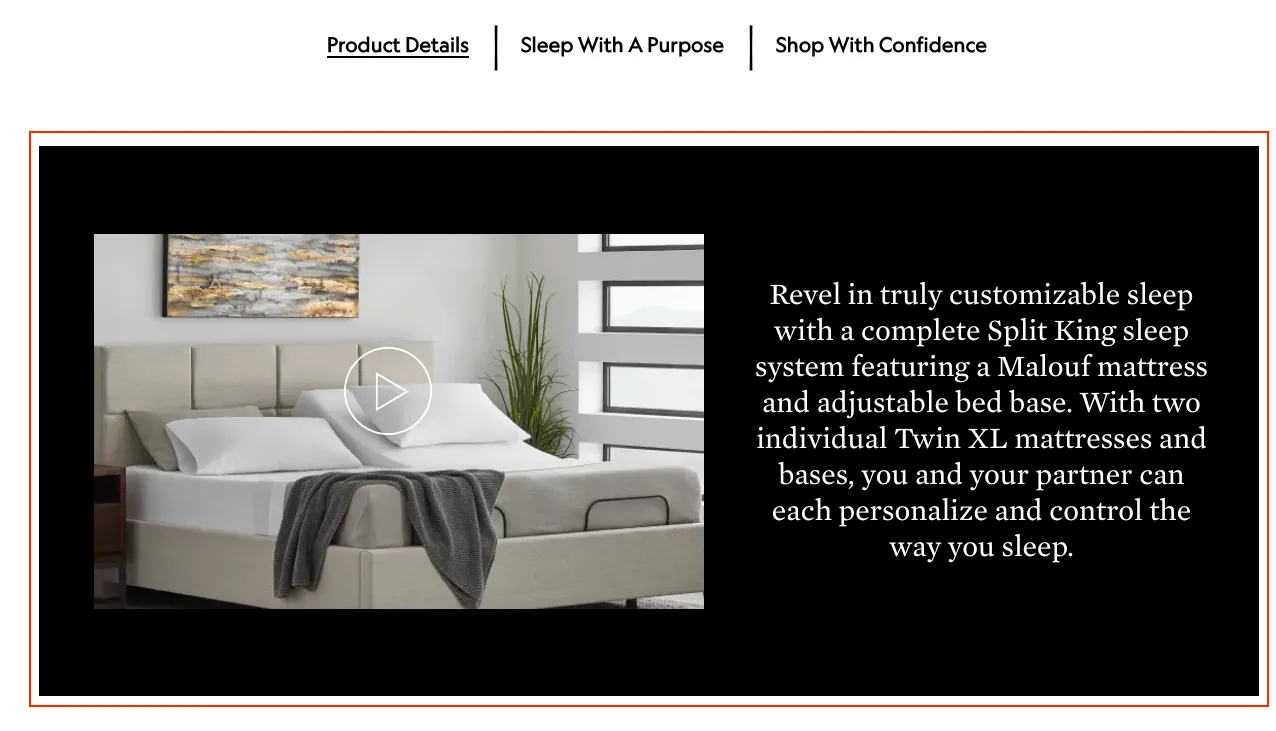 | None |
Product Simple Description | text_alignmentheadingdescriptionbutton_linkbutton_textmedia |  | None |
Product Description Columns | text_alignmentheadingmediavideo_autoplay | 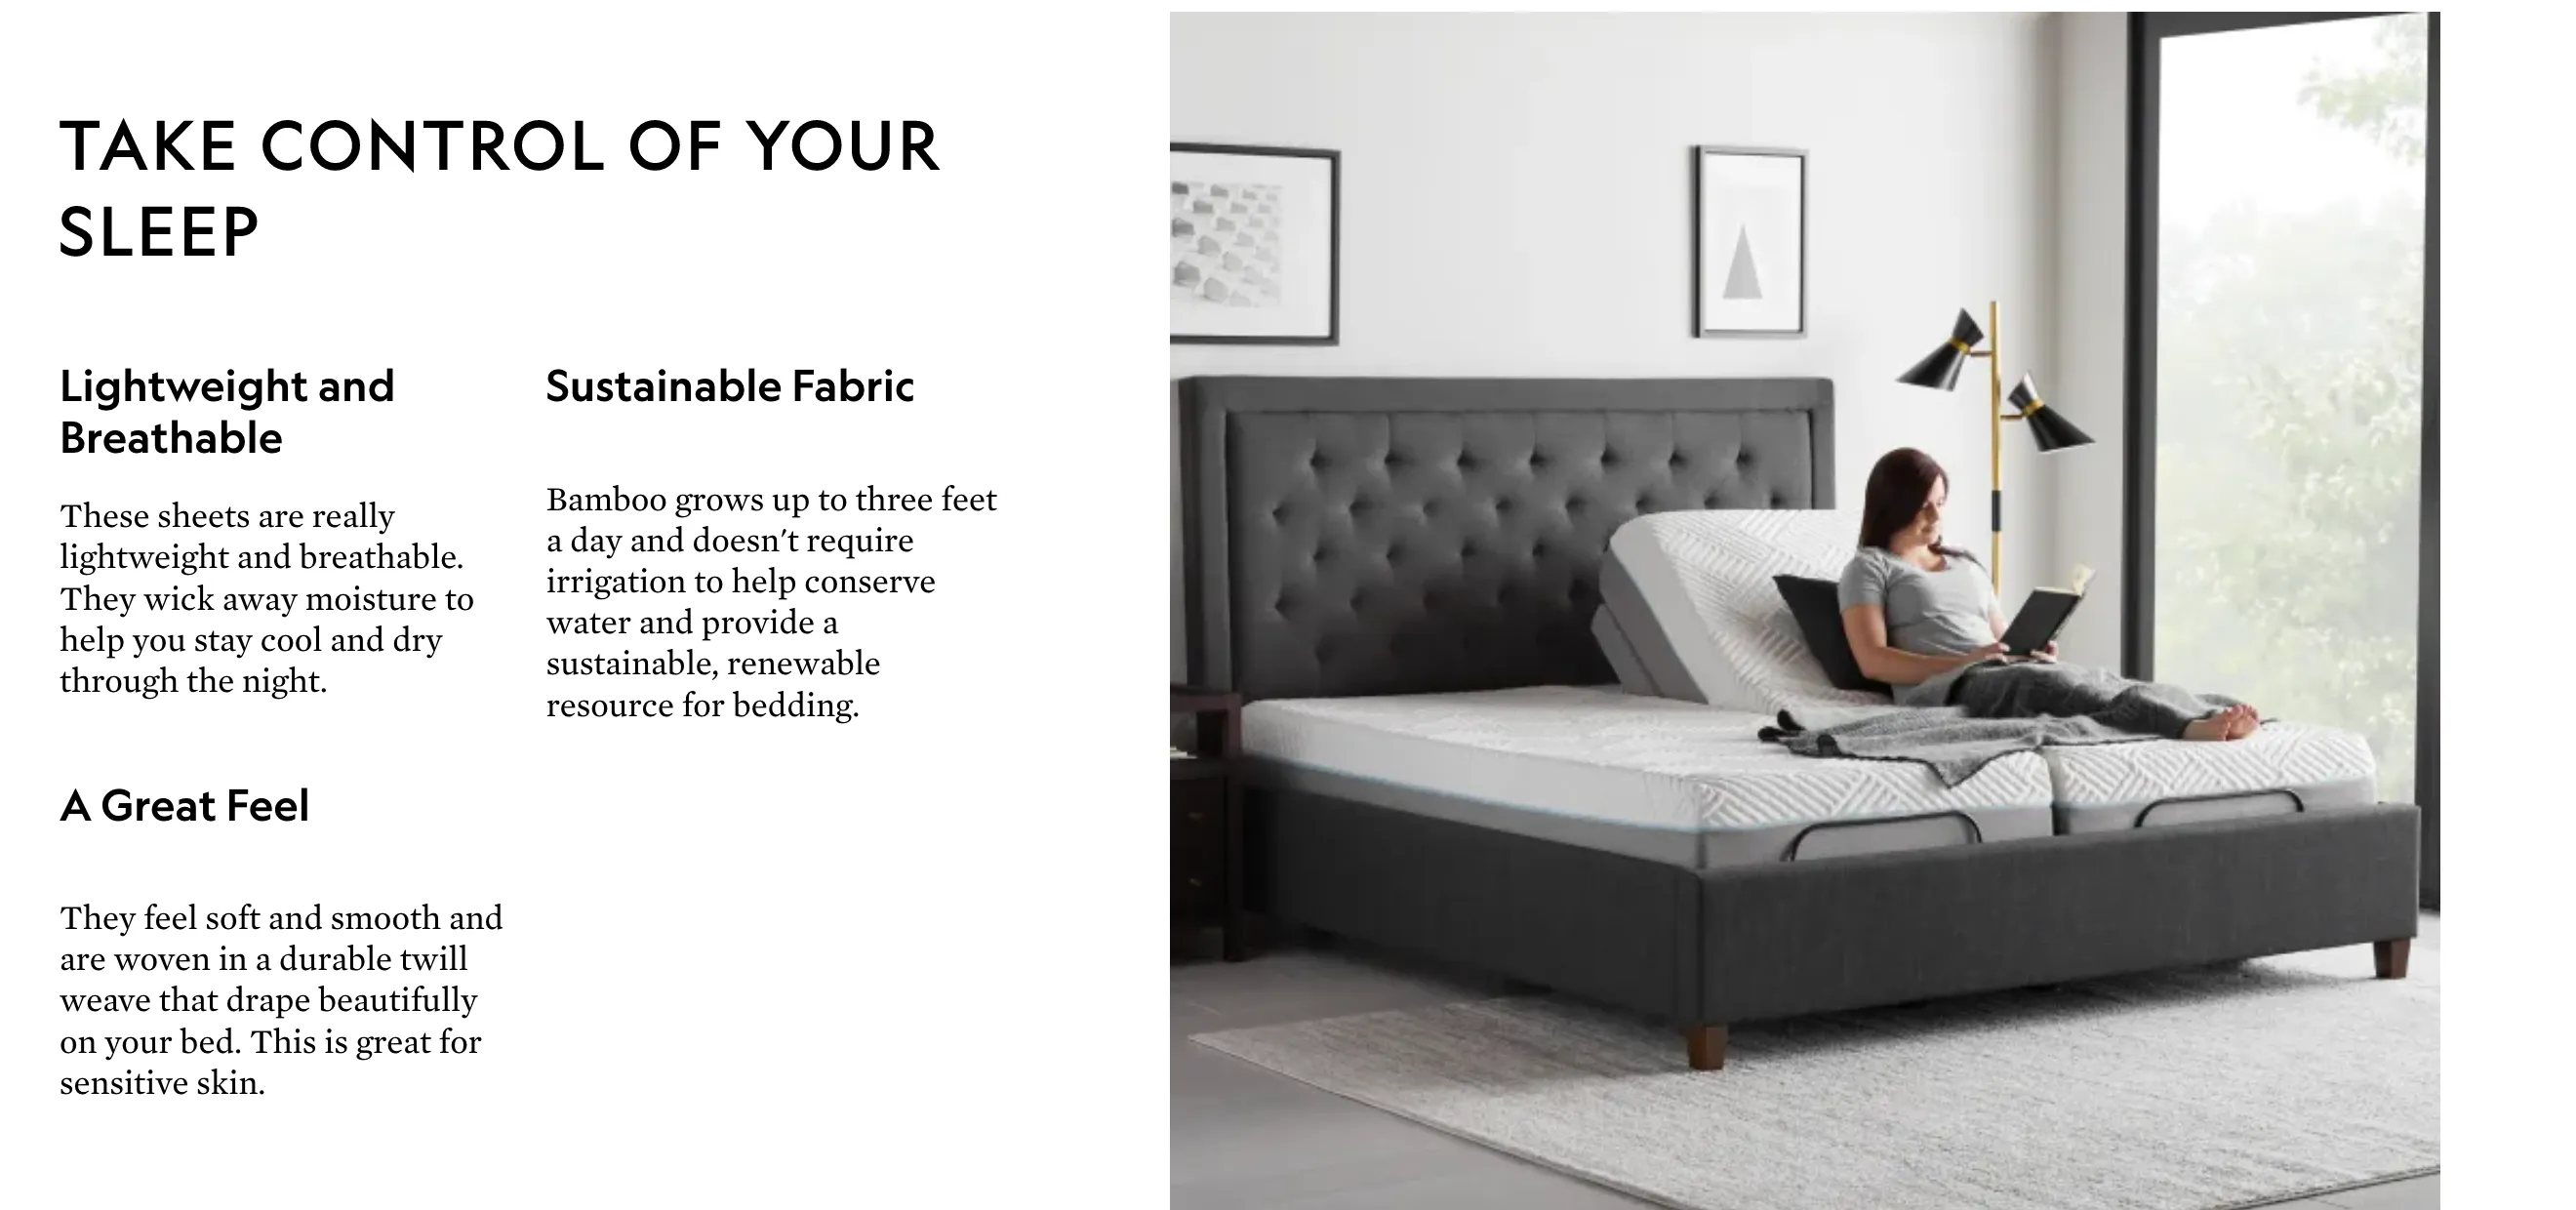 | Espot Details - HeadingDescription |
Product List Feature | text_alignmentheadingdescriptionmedia | 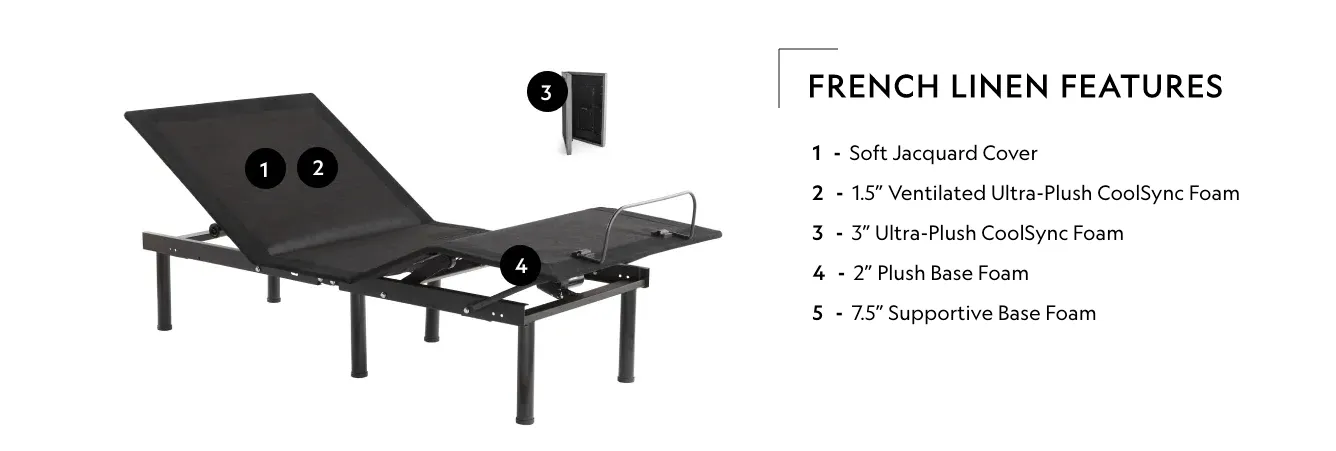 | Additional HTML |
Product Dual Feature | text_alignment | 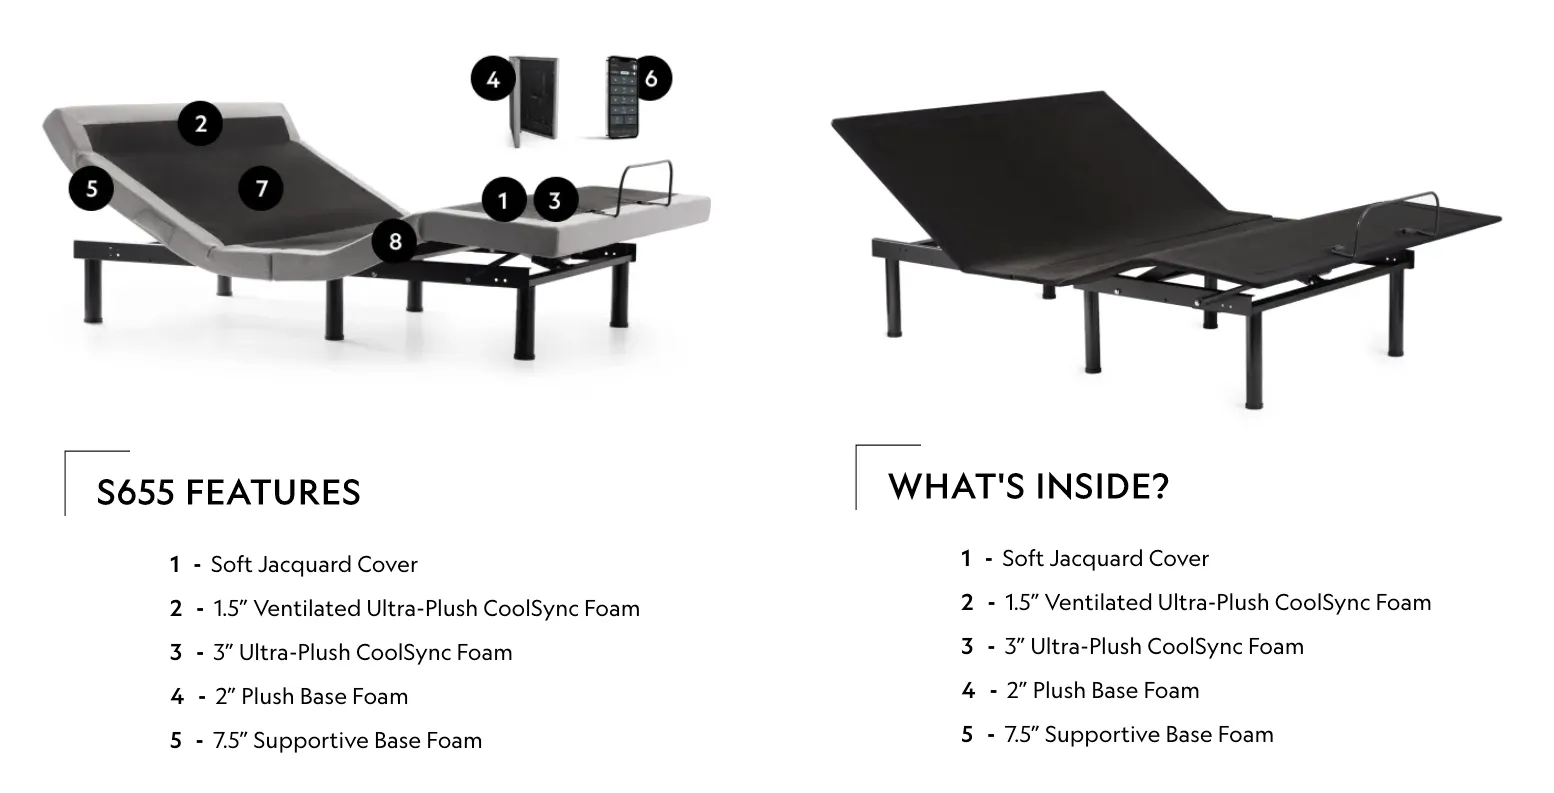 | Espot Details - HeadingDescriptionImage_urlAdditional HTML |
Product Dual Images | text_alignment | 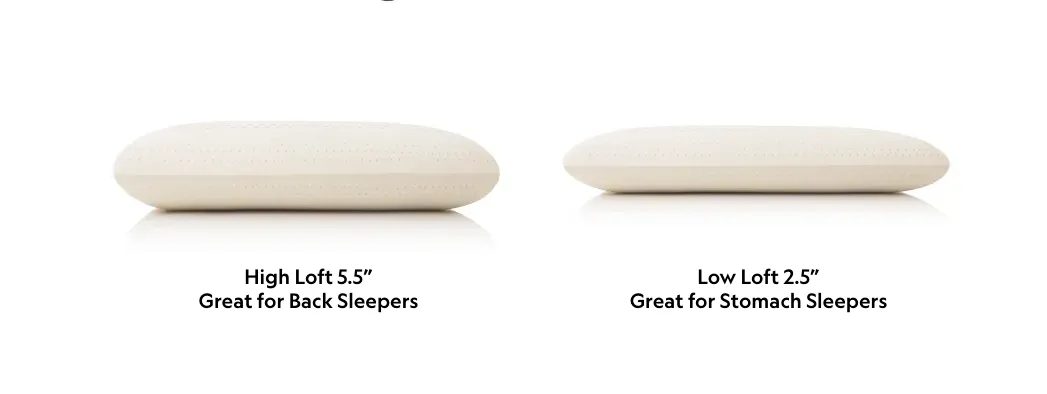 | Espot Details - DescriptionImage_url |
Product Position and Firmness | text_alignment | 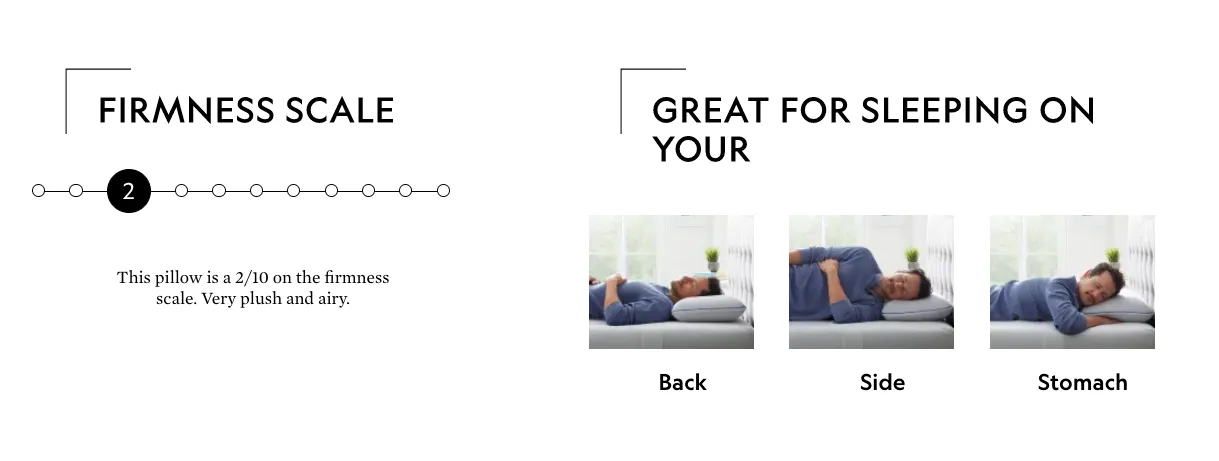 | Espot Details - HeadingDescriptionAdditional HTML |
Product Background Image Feature | text_alignmentheadingdescriptionmediabackground_color | 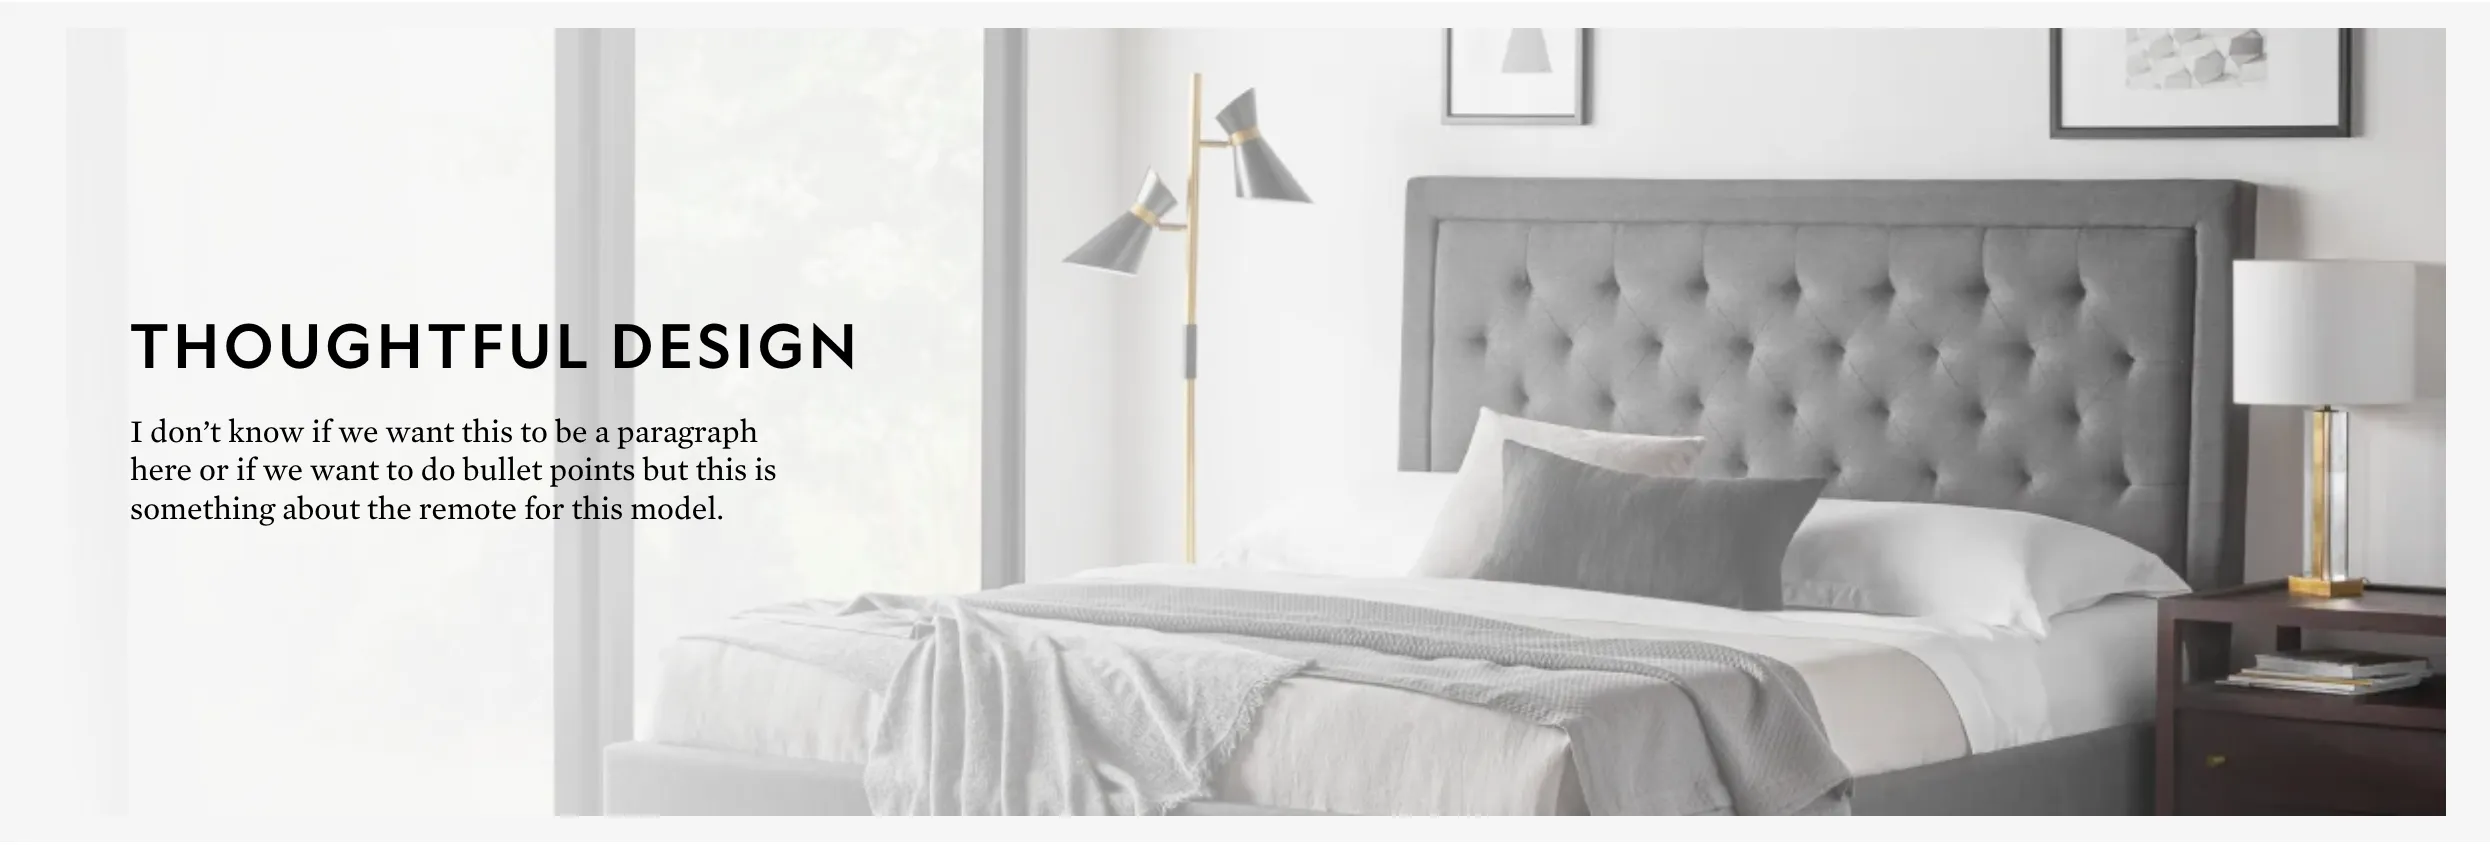 | None |
Product Text Border Feature | text_alignmentheadingdescriptionmedia | 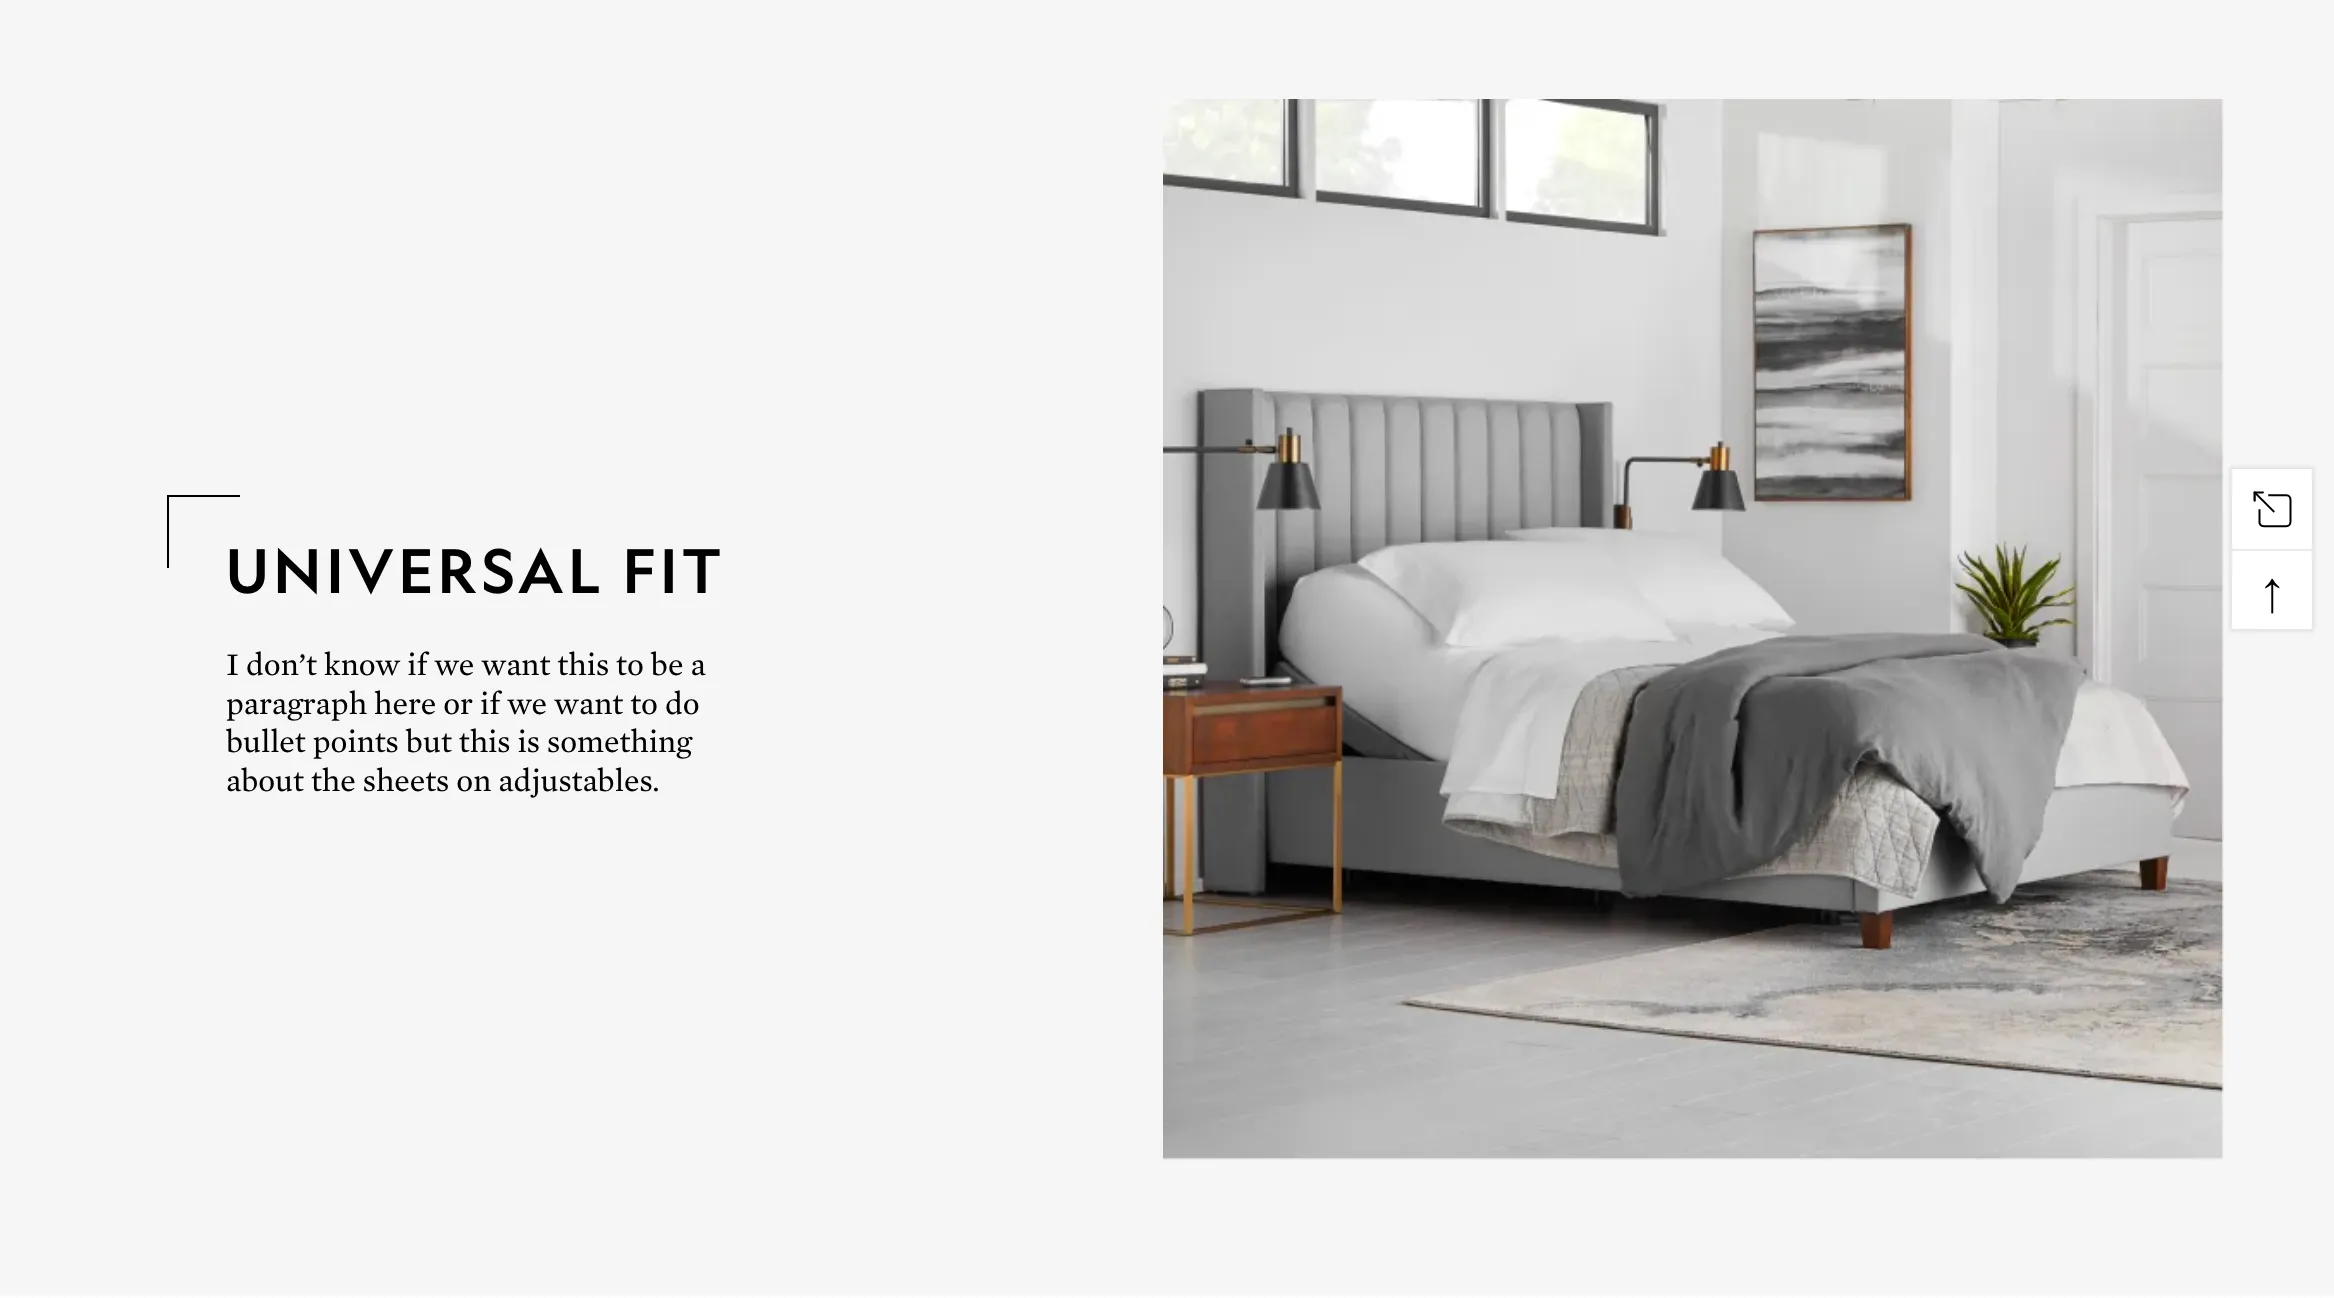 | None |
Add Relations
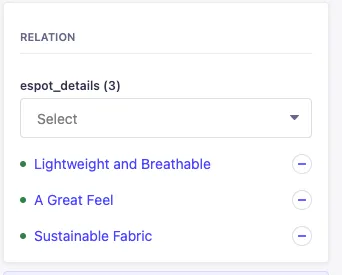
If you need more content fields, you can use Strapi Relations to attach additional content to the collection type. The Relation field is on the right-hand menu when you create/edit an entry.
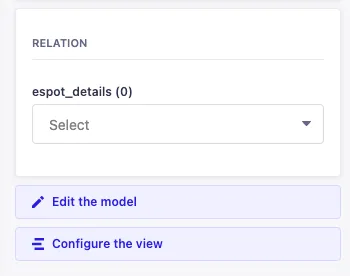
For the product page, it currently only uses the “Espot_details” collection for more content. “Espot Detail” includes a heading and description field. You can create as many “Espot Detail” entries and add them to the “Product Espot”.
Let us know if you do not have enough fields, we can easily add more.
Espot HTML
Product List Feature or Product Dual Feature
To add the numbered list to the product espot, use the following HTML in the Description field.
<ul>
<li>Independent incline options for head and feet </li>
<li>Two preset positions and the option to customize one more   </li>
<li>Foldable for easy transportation and quick 15-minute assembly  </li>
<li>Two convenient charging ports and Bluetooth® compatibility  </li>
<li>Access to additional customization with the Malouf Base™ App  </li>
<li>Relaxing neck and back massage with three intensities   </li>
<li>Finished in a sleek stone-colored upholstery  </li>
</ul>
Product Position and Firmness
To add the sleep style or other images, use the following HTML in the Description field. New images can be uploaded through the Media Library tab.
<div class="flex">
    <div>
        <img src="image_link_here" alt="" />
        <p>Back</p>
    </div>
    <div>
        <img src="image_link_here" alt="" />
        <p>Side</p>
    </div>
    <div>
        <img src="image_link_here" alt="" />
        <p>Stomach</p>
    </div>
</div>
To add the firmness scale, use the following HTML in Description field. Set a number to signify the exact firmness:
<div class="scale">
    <div></div>
    <div></div>
    <div>2</div>
    <div></div>
    <div></div>
    <div></div>
    <div></div>
    <div></div>
    <div></div>
    <div></div>
    <div></div>
</div>
<p>This pillow is a 2/10 on the firmness scale. Very plush and airy.</p>
Save & Publish
In the upper right hand corner you can save and publish the collection entry. If you won’t want the content to go live, simply save and it will be stored in the system as a draft.
Gallery
Inline Videos
In order to add inline-videos to the gallery, you’ll need to add the Custom Field value videoID on the product. You’ll also need the Cloudflare video id. We currently use Cloudflare to house all of our video content. If the video does not already exist in Cloudflare, it will need to be uploaded. You can request an account or add a task for a webdev to add the video.
To upload a video into Cloudflare
- Log into Cloudflare.
- Select “Stream” from the navbar on the left.
- Upload the video in the “Quick upload” section
- Click on the video once it is uploaded and locate the “Video ID” field in the “Settings” tab
Once the ID is copied, add it to the *value input for the videoID Custom Field of the product.
Other Components
Mattress Base Compare section
This section is only visible on a product under the “mattress” category. The information is pulled in using the subcategory description and image*. To update it’s content, follow the same process to update the subcategories. If the categories/subcategories ID’s are changed, contact the devs to update them and fix the links.
Warranty
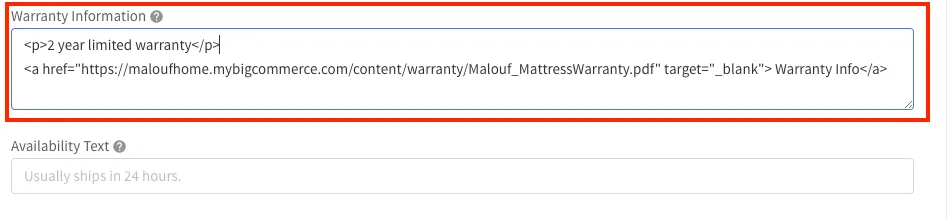
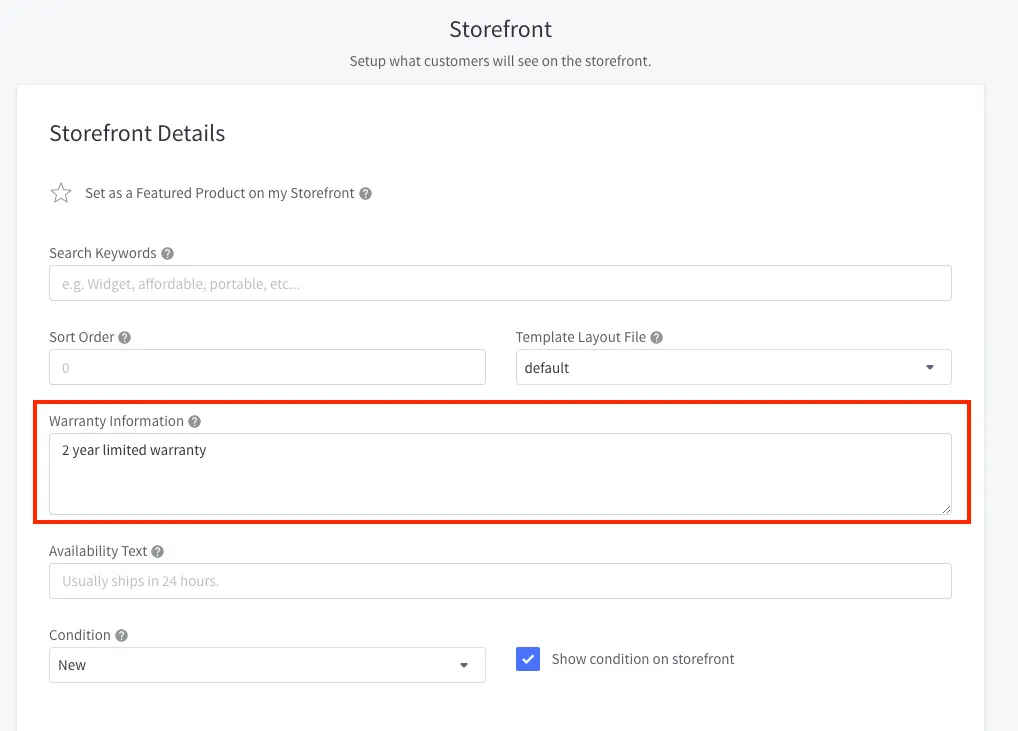
To input warranty information, navigate to the product page in the BigCommerce admin. On the product page in the Storefront Details sections you can add warranty information. The input will take HTML or plain text.
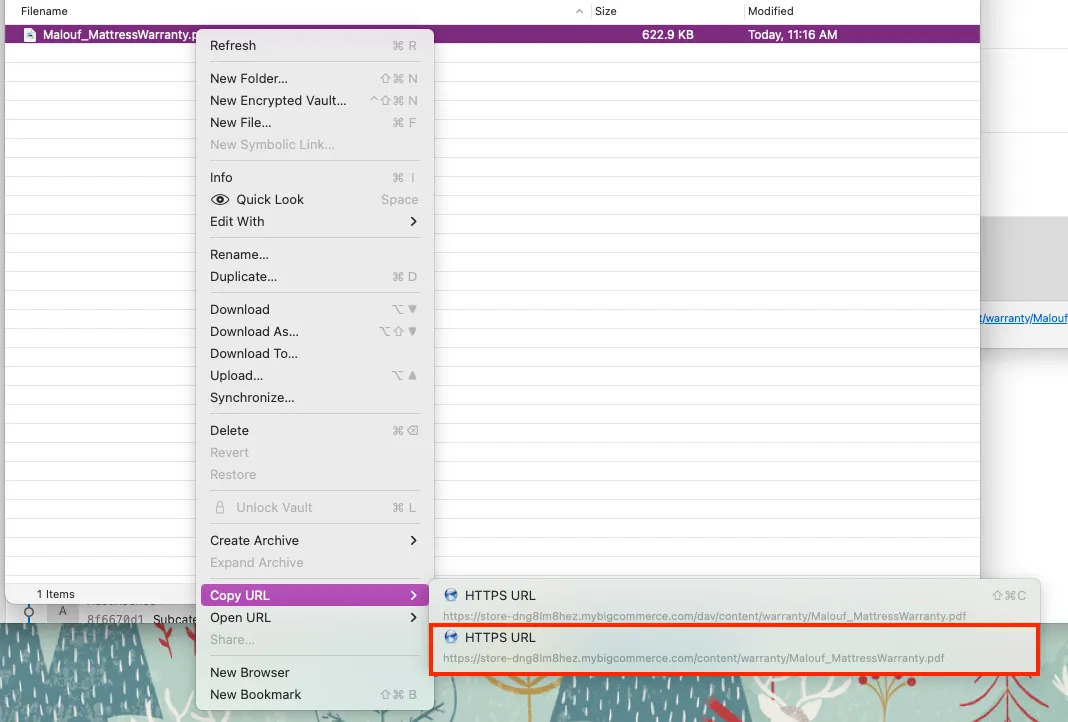
To upload PDFs for the warranty, you will need to add the files to the BigCommerce webdav. The webdav settings can be found in Settings > File Access(Webdav). You will need to use CyberDuck or another FTP client. Use the connection settings listed in the Setup Details.
After you have your FTP client up, double click on the warranty folder within the FTP client. Once inside, you can upload more files by right clicking and selecting “Upload”. To copy the url, also right click and select the second URL option. You also append the info after .com to the current url so the domain name is the name for the customer.
To add the url to the product warranty, simply navigate back the product page in BigCommerce and into Storefront Details. Add the link to the Warranty Info section as HTML:
<a href="https://maloufhome.mybigcommerce.com/content/warranty/Malouf_MattressWarranty.pdf" target="_blank">
    Warranty Info
</a>
It should look similar to image below.